Tags
big apple red, black, black onyx, china glaze, gradient, happy go lucky, in my back pocket, manicure, notd, opi, orange, red, sponging, striping, tape, taping, tropical, yellow
Since I haven’t had several hours at a time to do a fancy manicure, I went for an evolving manicure this time, doing just a little at a time. Hopefully this is inspiring to others with a busy schedule 🙂
Day one – I painted my nails yellow with China Glaze Happy Go Lucky. This I forgot to take a picture of 😦 Sorry!
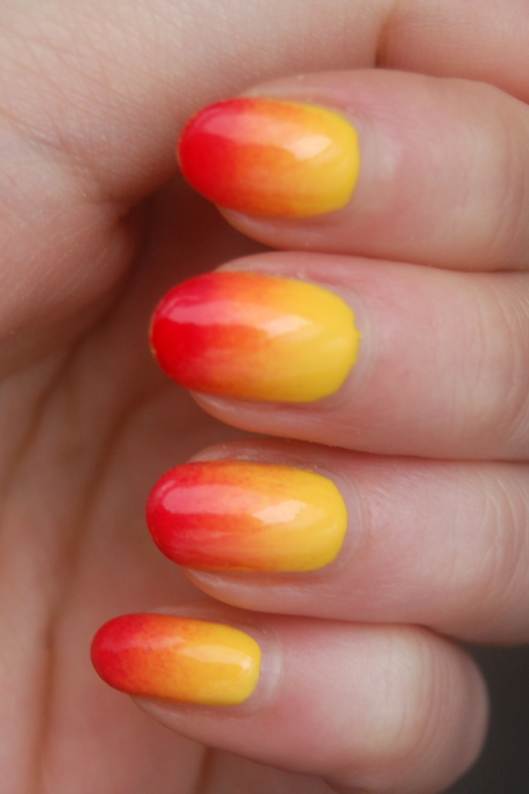
Day two – Sponged a smooth gradient on top of the yellow with the same China Glaze Happy Go Lucky, OPI In My Back Pocket (which is orange) and OPI Big Apple Red. You can achieve a smooth gradient by painting strips of the colors on the sponge, all at once. And then pat away, the result is very smooth and much quicker then doing one color at a time. This ended up looking like this:

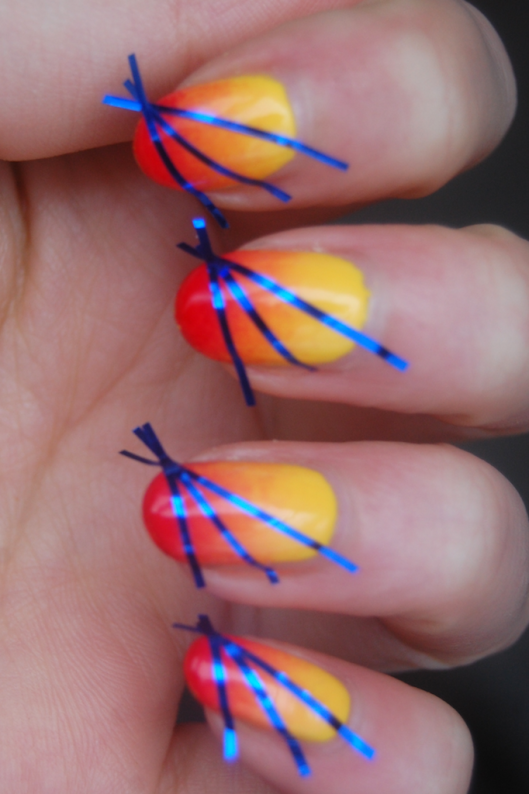
Day three – Went with the taping method to create gradient color stripes on a black background. The tape is from Ebay, it’s called striping tape. It’s actually meant for striping, meaning you leave it on and cover it with top coat but it won’t stay that well so it’s more useful for taping since it creates nice and thin stripes. When doing that, I suggest you use a contrasting color tape, makes it much easier to see what you’re doing. Taped (sorry for the fuzzy picture):

Then I painted my nails black with OPI Black Onyx. When doing tape striping, do one nail at a time and pull the tape off while the top layer is still wet or else it will pull off chunks of it and you won’t get smooth lines. I was in a crazy hurry by that point so mine came out a tad wonky here and there since I wasn’t doing it very carefully. But it still looks cool! So the end result:

Hope that gives you some ideas 🙂 You really don’t have to do your full manicure in one go if busy, dividing it into manageable chunks is not only a good time saver, it also gives you a different manicure every day throughout the process 😀
Have a great Wednesday everyone and see you on Friday with a review that I’m real excited about (hinthint, it’s a RICH product! :D). Mwah!

That is awesome! I might have to try this!!!
Glad you like it! Do try it and show me how it came out! 🙂
I really love the sponging gradient thing that you do and every time I go to the store I look for a good sponge to try that technique, but I can never find the cone/egg shaped sponge that you used. Where did you get yours? I can’t wear polish on my nails cuz of work… but I might have to do this on my toes! 😀
I use triangular sponges. They’re just makeup sponges that are cut in a triangular shape, I got them from the mall. But you can really use any shape as long as it has a straight surface on some side of it. You can cut bits from bigger pieces and so on. Or search Ebay for triangle makeup sponges, I’m sure there are plenty there. I would have searched Ebay myself since in here the prices are insane on everything but I got my pack on sale 😀
Very nice! I love manicures that you can evolve as you get bored of them, and the multi-coloured design under the black is one of my favourite techniques 🙂 Striping tape is just so useful! And for the previous comments about sponging techniques: makeup sponges are in most beauty stores, but of all else fails try a small bit of a washing up sponge 🙂
Thanks! I love it too, I usually get bored very quickly so I like doing a little at a time anyway to keep it changing 🙂
kas äkki saaksin su msni? tahaksin rohkem küsida nende küünte kohta, inglisekeelsest veidi raske aru saada ja omal blogi puudub, kui siin ei taha öelda siis lisa palun : getyke1997@hotmail.com VÄGA meeldivad ! 🙂
Ma ei kasuta msni. Aga sa võid mulle kirjutada – kirikadawn@gmail.com ja ma vastan su küsimustele nii näiteks 🙂